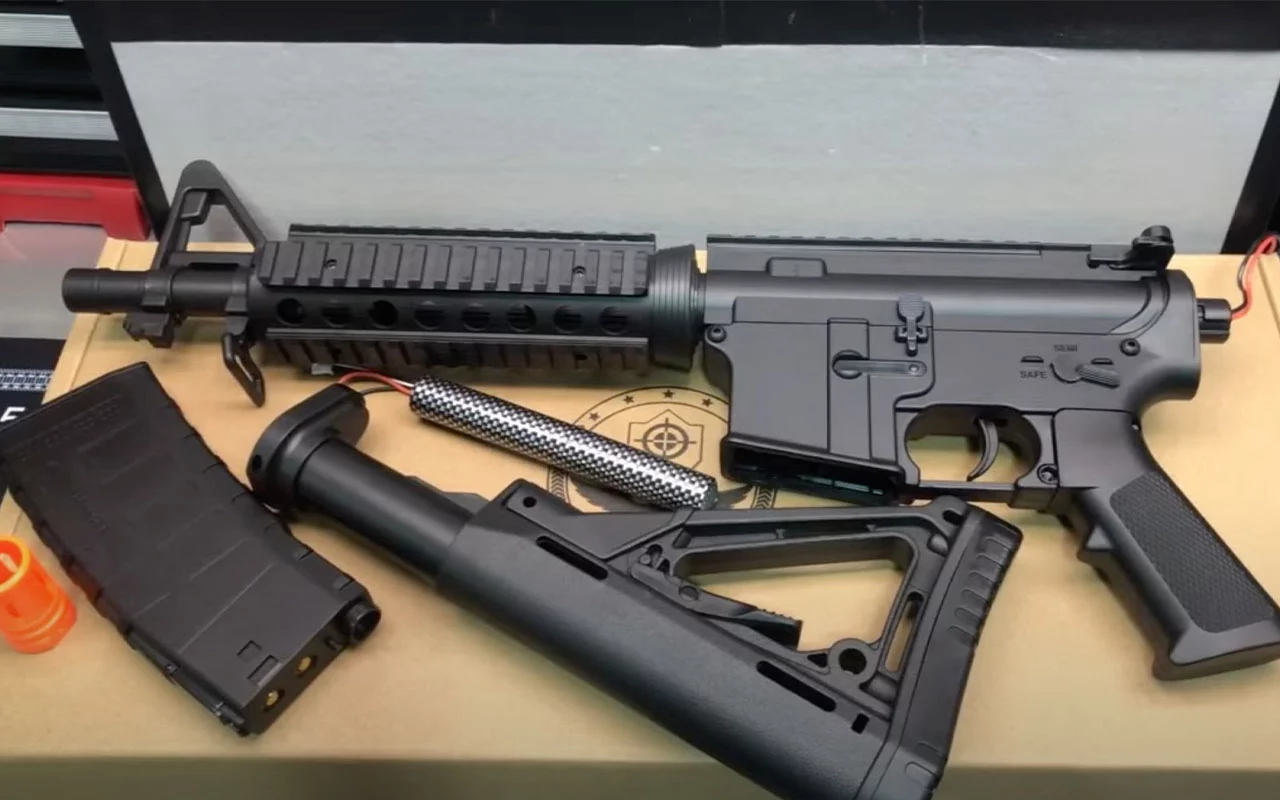
To put the battery in an M4A1 gel blaster, you typically follow these steps:
- Locate the battery compartment: The battery compartment in an M4A1 gel blaster is usually located in the stock or the handguard of the gun. Look for a designated area with a removable cover or access point.
- Remove the battery compartment cover: If there is a cover or panel over the battery compartment, carefully remove it. This may involve sliding or releasing latches, unscrewing screws, or pulling off a cap, depending on the specific design of your M4A1 gel blaster.
- Insert the battery: Once the battery compartment is accessible, insert the battery into the compartment. Ensure the battery is correctly oriented with appropriately aligned positive (+) and negative (-) terminals.
- Connect the battery: Locate the battery connector inside the compartment and connect it to the corresponding connector on the gun. The connectors are typically designed to fit together easily, so align them and push them firmly until they click into place.
- Secure the battery: If there are any straps, Velcro, or securing mechanisms in the battery compartment, use them to secure the battery. This helps prevent movement and ensures a stable connection during use.
- Close the battery compartment: If it has a cover or panel, reattach it securely, ensuring it is properly aligned and fastened.
It’s important to note that the specific steps may vary slightly depending on the manufacturer and model of the M4A1 gel blaster you have. If you’re unsure or need more detailed instructions, it’s recommended to refer to the user manual or consult the manufacturer’s guidelines for your specific gel blaster model.
How to Assembly & Setup: ANSTOY M4A1 Gel Blaster?
From 00:00 Assembly
From 00:30 Connecting the charger to the blaster
From 00:41 Inserting the charger
From 01:26 Filling the magazine
From 02:06 Firing Demo
